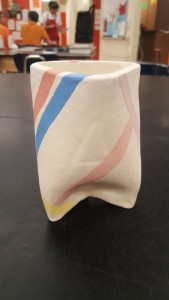
5in x 2in x 2in
white earthenware, glaze

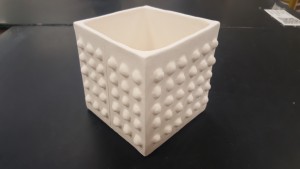
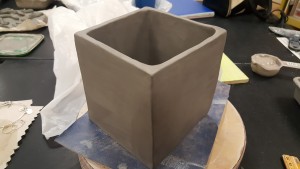
5in x 5in x 5in
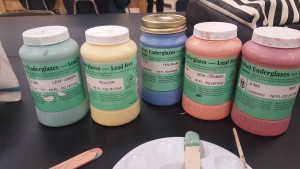
white earthenware, underglaze, glaze

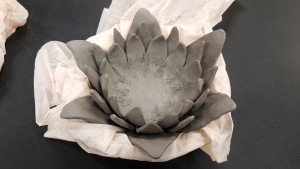
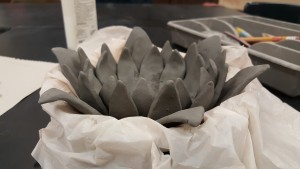
2.5in x 7in x 7in
white earthenware, underglaze, glaze
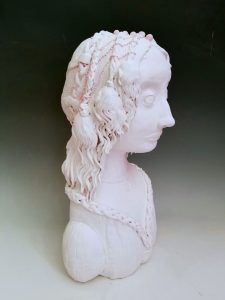
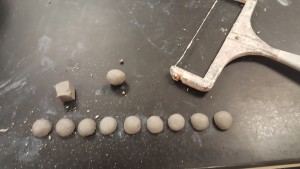
14in x 8.5in x 7in
red earthenware, underglaze, glaze

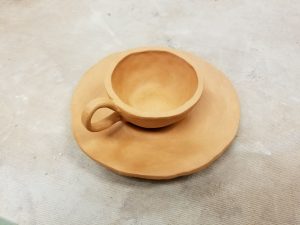
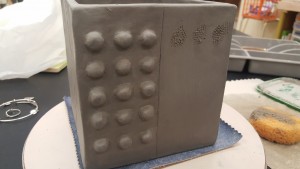
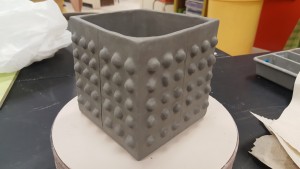
2in x 5.5in x 5.5in
red earthenware, underglaze, glaze
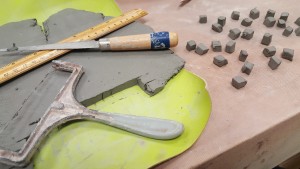
The first project I did this year was the tripod vessel. It was constructed using a slab and the bottom was pinched into the legs. I decorated the outside with white and light pink glaze. The only thing I would do differently with this piece is use food safe glaze so that it could be used as a cup. The next piece I did was my “Candy Box” for the Artist Tell Stories project. I got the idea for the piece from a trip that I took to Los Angeles. The piece was very time consuming because I had to make and place all 120 of the dots on the box, but it was a good way of learning repetition and patience. For the playlist project I chose nature and made a lotus flower. I have never had project change so much before it was finished. The very first idea that I had was to make a lily pad with the flower on it, which then turned into just the lotus flower. After getting wrapped up in another project I was not able to finish the inside of the flower. Then I realized that it would make a good candle holder, so I fired it and then glazed it in a deep purple color. If I had to redo one of my projects, it would be the lotus flower and I would complete my original vision of the flower on the lily pad. The portrait bust was by far the most challenging project I have done in this class, it took me just about four months to complete. I rolled each and every coil of hair and each pearl to put on this piece. I was so happy when it came out of the kiln as a whole, there was only about two pearls gone and a couple hair pieces that that had broken. I used white underglaze on the whole bust because I wanted it to have a matte finish. One more thing that I decided to do was to add clear glaze on all of the pearls, which is why they are pink in the most current photo. I think that it will make them stand out a little more if they are not matte like the rest of the piece. I am very proud of this project and I’m happy with how it has turned out. For my last project I did a teacup and saucer, it was pretty simple. I am still glazing it, there will be more pink hearts added around the saucer and the whole thing will have a glossy finish.
This year I have come a long way in developing my art making skills and learning how to have patience when it comes to art. While working on projects I started to learn my own way of doing things and also learning that I like a certain style of work. I think that I have shown growth this year. In my first couple of projects I did not take many risks and kind of kept it simple. As I moved on to the portrait bust project I began focusing more on details and taking risks. If I were to try to make the same project while I was in Ceramics 1, I do not think that it would be successful because I did not have the same amount of experience that I have now. Even though there are a few things that I would change about some of my projects, I am happy with how everything turned out.